What’s up everyone? My name is Sal Cincotta. Before we get started, we’ve got two beautiful models today. They might look a little familiar if you watched the Creator series. We’ve got Christina behind me. So, let’s get serious for a second and talk about the setup. Here’s the breakdown of what I’m working with today: I’ll be shooting tethered so you can see everything in real-time. I’m using the Canon EOS R5—not the R2—with a 28-70mm lens.
However, I want to spend just a couple of minutes to explain my thought process on lighting. In my opinion, boudoir photography is exploding everywhere right now—it’s become mainstream. About 10 or 15 years ago, when I started to introduce boudoir here in the Midwest, it was always looked at. Everyone was like, “Eh.” It was just that brother, eh. I can be hip sometimes. Anyway, it was always that kind of thing, and now it’s become more mainstream, whether it’s after COVID or for whatever reason. If you’re a boudoir photographer, you’re probably thinking, “Shut up, Sal, don’t teach this stuff.” But the reality is we need to elevate what boudoir means. Now, my personal philosophy—and you may or may not agree with me, which is okay either way—is that I don’t like the term boudoir. I’d rather expand the category to be more along the lines of beauty.
I think when you expand the category to beauty, what ends up happening is that you broaden your appeal beyond just twenty-somethings. Typically, you have two main audiences: the twenty-something bride-to-be, who’s getting a gift for her fiancé, and then the 40 to 55-year-olds experiencing a midlife crisis, with kids out of the house. That’s totally cool, and there’s plenty of money to be made in both.
The bigger picture is that if you change your vernacular to beauty, it can be everything from boudoir to beauty portraits. What we’re finding is that the 55 to 70-year-old demographic doesn’t want to be in lingerie, but they do want to be sexy and maybe have a stylized shoot. So, is that boudoir? By definition, probably not. But this is where we can all expand the market. You’ll have clients who want traditional boudoir and others who want full beauty.
All that to say, this idea of being in a hotel room with natural light spilling in or just doing high-key light portraits—I think everyone’s doing that, right? It’s this kinda light and airy style, and not that it’s necessarily light and airy, but in the wedding industry, everyone who didn’t fully understand lighting was doing it.
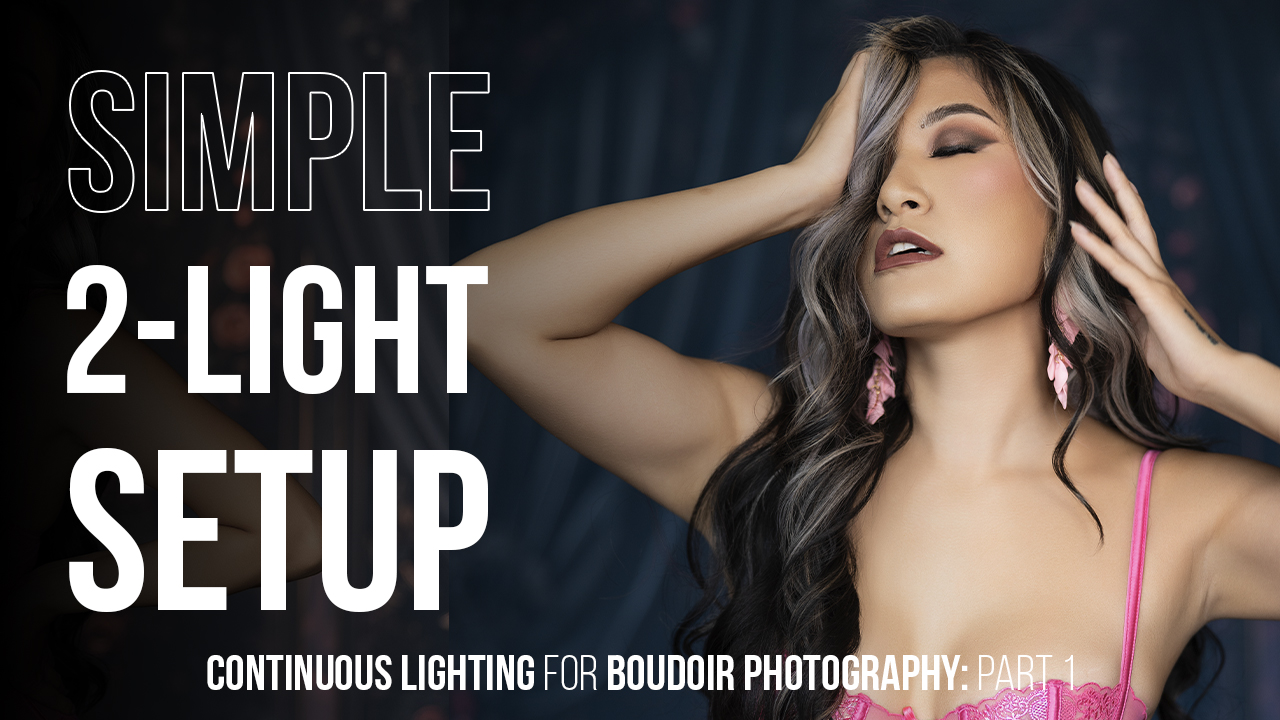
What I want to challenge you to do today is to think a little differently about how you light your boudoir portraits. Consider including some color, including different backdrops, and stylizing them a little bit more. If you can do that for your clients, your work will stand out. Flash can be overwhelming sometimes, and introducing gel with flash can be overwhelming sometimes. What ends up happening, though, is that when you’re using continuous light—which is really what I want to talk about today—what you see is what you get. It’s super simple.
Let me show you what we’re using today. Let me just unplug it. This is the main light we’ll be using today. This is a Nanlite Forza 60C, which comes in a three light kit. So no matter where you go, you’re going to have it in this kit. It also serves as a nice little seat while you’re working, if you want to be a little lazy.
And you can go full RGB or just bicolor, where you are going from about 5,500K all the way down to probably twenty-something hundred. This allows you to choose between a warm orange look versus daylight balance. These lights are very portable; they can handle batteries or be plugged into the wall, making them very usable. I’m going to show you all that today. But I really think this is a great kit if you’re shooting in a studio or a small space. I have no idea how much it is. By the way, I’m not here to sell you this lighting; I’m just showing you what I’m using.
All right, so what we have here on Christina is just this one light right now. I’m using an octabox for the Forza 60, and we have a grid on it to really focus that light. If I want it to be a bit softer, we can soften it up a little bit. I’m going to have this right in here on her, and I want it to be somewhat directional. I don’t want this light to be flat on her face or have it off to a 45.
Also, let me show you what backdrop we have for this. This is from Intuition Backgrounds; this is their Lauryn, a 10 by 8, and it’s on fleece. When it comes to backdrops, I like fleece and I like fabrics. I find that canvas materials, there’s too much sheen on them, and they get too much shine. You should be able to see, both on this camera and when I’m taking pictures, when you’re hitting the backdrop with light, the fabric absorbs that light, and I just think it provides a really good image.
All right, here we go. This is a really simple one light setup. Again, I got a 28-70 lens. And what I’m going to do here is take this kind of tight shot of her for a test shot. Okay, so the backdrop is going to be cool. By its nature because it is a cooler blue. And I like that. That’s what I want. Let’s keep working through this. I just want to take this shot, and I’m going to circle back to it.