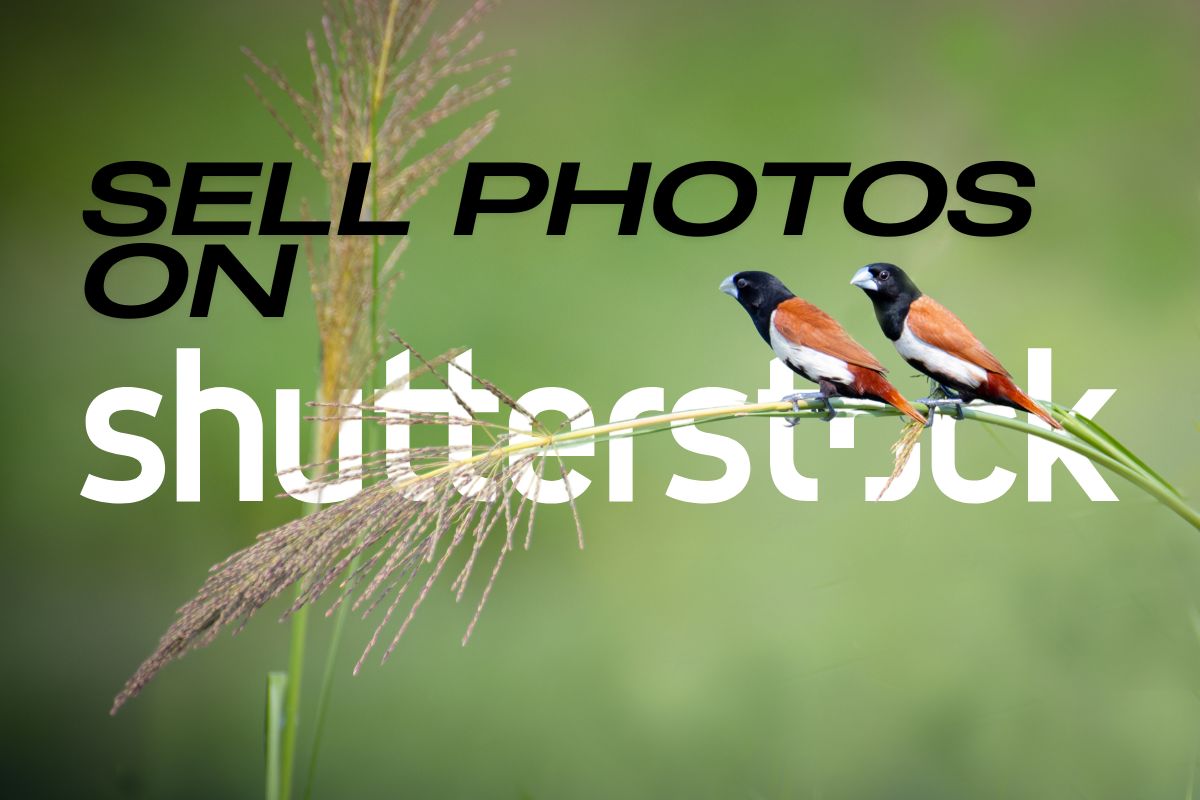

In today’s digital era, photography isn’t just a creative outlet—it’s also a viable way to earn money. Whether you’re a professional photographer or an enthusiastic hobbyist, platforms like Shutterstock offer an incredible opportunity to turn your images into a source of income. Shutterstock, one of the world’s leading stock photography agencies, allows contributors to upload their photos and earn royalties whenever their work is downloaded by customers worldwide. If you’ve ever wondered how to sell photos on Shutterstock, you’re in the right place. This detailed guide will walk you through every step of the process, from setting up your account to maximizing your sales, all while ensuring your photos stand out in a competitive marketplace. Let’s dive in!
What Is Shutterstock and Why Sell Photos There?
Shutterstock is a global marketplace where photographers, illustrators, and videographers can sell their creative content to businesses, marketers, bloggers, and other professionals who need high-quality visuals. Founded in 2003, the platform has grown into a powerhouse, boasting millions of images and a customer base that spans over 150 countries. For photographers, Shutterstock offers a chance to monetize their work, reach a vast audience, and build a passive income stream.
So, why choose Shutterstock over other stock photography platforms? Here are some compelling reasons:
- Massive Global Reach: With customers across the globe, your photos have the potential to be seen and purchased by a diverse audience.
- Passive Income Potential: Once your photos are uploaded and approved, they can generate revenue without constant effort on your part.
- Royalty-Based Earnings: You earn a percentage of every sale, with rates increasing as your lifetime earnings grow.
- Exposure for Your Work: Shutterstock acts as a portfolio showcase, helping you gain recognition and potentially attract new opportunities.
- Supportive Community: The platform provides resources like contributor forums, tutorials, and analytics to help you succeed.
Selling photos on Shutterstock isn’t just about making money—it’s about sharing your creativity with the world. Ready to get started? Let’s break it down step by step.
Step 1: Creating a Shutterstock Contributor Account
The first step to selling photos on Shutterstock is to set up a contributor account. Fortunately, this process is straightforward and free. Here’s how to do it:
- Visit the Contributor Page: Head to the Shutterstock website (www.shutterstock.com) and locate the contributor section. Look for a link like “Sell Content” or “Become a Contributor” in the footer or navigation menu.
- Sign Up: Click the “Sign Up” button and fill out the registration form. You’ll need to provide your name, email address, and a secure password.
- Verify Your Email: After submitting the form, check your inbox for a verification email from Shutterstock. Click the link to confirm your email address.
- Complete Your Profile: Log in to your new contributor account and fill out your profile details. This may include your address, phone number, and preferred payment method (e.g., PayPal or bank transfer).
- Accept the Terms: Review and agree to Shutterstock’s contributor agreement and terms of service.
Once your account is set up, you’re officially a Shutterstock contributor! But before you start uploading photos, you need to understand the platform’s standards and expectations.
Step 2: Understanding Shutterstock’s Requirements and Guidelines
Shutterstock maintains strict quality and content guidelines to ensure their library meets the needs of their customers. Submitting photos that don’t meet these standards will result in rejection, so it’s worth taking the time to familiarize yourself with the rules. Here’s what you need to know:
- Image Quality: Photos must be clear, well-lit, and free of noise, blurriness, or overexposure. Aim for professional-grade images that showcase your skills.
- Resolution: The minimum resolution is 4 megapixels (e.g., 2000 x 2000 pixels). However, higher resolutions are preferred for versatility in print and digital use.
- File Format: Submit images in JPEG format with maximum quality settings. Use the sRGB color space, which is standard for online platforms.
- Content Restrictions: Avoid submitting photos with visible trademarks, logos, or copyrighted material unless you have permission. Explicit content, violence, or anything deemed offensive is also prohibited.
- Releases: If your photo features recognizable people or private property (e.g., a distinctive building), you’ll need signed model or property releases. These legal documents grant permission to use the image commercially.
For a full list of guidelines, check Shutterstock’s contributor resources page. Meeting these standards is the foundation of a successful submission process.
Step 3: Preparing Your Photos for Submission
Before uploading, your photos need some preparation to ensure they meet Shutterstock’s requirements and appeal to buyers. This step involves editing, resizing, and organizing your images. Here’s how to do it:
- Editing Your Photos: Use photo editing software to enhance your images. Adjust brightness, contrast, and colors to make them pop. Remove imperfections like dust spots or distractions in the background. The goal is to present a polished, professional product.
Not sure which tools to use? Investing in the right Photo Editing Software can elevate your work to the next level. Explore options tailored to your needs to streamline your editing process. - Resizing: Check that your images meet the 4-megapixel minimum. Resize if necessary, but avoid upscaling, as it can reduce quality.
- File Naming: Use descriptive file names (e.g., “sunset-beach-vacation.jpg”) to keep your work organized and hint at the content.
- Metadata Preparation: While you’ll add metadata during the upload process, jotting down potential titles, descriptions, and keywords beforehand can save time.
Proper preparation increases your chances of approval and makes your photos more attractive to potential buyers.
Step 4: Uploading and Submitting Your Photos
With your photos edited and ready, it’s time to upload them to Shutterstock. Follow these steps:
- Log In: Access your contributor account via the Shutterstock contributor portal.
- Find the Upload Section: Look for an “Upload” button or link on your dashboard.
- Select Files: Choose the prepared photos from your computer. You can upload multiple images at once.
- Add Metadata: For each photo, enter:
- Title: A short, descriptive name (e.g., “Vibrant City Skyline at Night”).
- Description: A brief explanation of the image (e.g., “A stunning view of a city skyline illuminated by colorful lights against a dark sky”).
- Keywords: 7-50 relevant terms (e.g., “cityscape, skyline, night, urban, lights”). Think like a buyer—what would they search for?
- Categorize: Assign your photo to appropriate categories (e.g., “Travel,” “Nature,” “Business”).
- Submit for Review: Hit the submit button to send your photos to Shutterstock’s review team.
The review process usually takes a few days. Approved photos go live in your portfolio; rejected ones come with feedback to help you improve.
Step 5: Tips for Increasing Your Sales
Uploading photos is just the beginning—success on Shutterstock requires strategy. Here are proven tips to boost your sales:
- Focus on Popular Subjects: Research trending topics like technology, wellness, or seasonal themes (e.g., holiday decorations). Photos that align with demand sell better.
- Prioritize Quality: High-resolution, well-composed images stand out. Invest time in perfecting your craft.
- Upload Consistently: Add new photos regularly to keep your portfolio active and visible.
- Optimize Keywords: Use specific, relevant keywords. For a beach sunset, include “sunset, beach, ocean, tropical, relaxation.”
- Analyze Performance: Use Shutterstock’s analytics to see which photos sell best and replicate their style or subject matter.
- Engage with the Community: Join contributor forums or social media groups to learn from others’ successes.
- Diversify: Offer a variety of styles and subjects to appeal to different buyers.
Patience is key—sales may start slow, but consistent effort pays off.
Step 6: Managing Your Portfolio and Earnings
As your portfolio grows, managing it effectively ensures long-term success. Here’s how:
- Track Sales: Check your dashboard for download stats and earnings. Monitor which images perform best.
- Refine Metadata: Update keywords or descriptions for underperforming photos to boost visibility.
- Withdraw Earnings: Set up your payment method and cash out when you hit the minimum threshold (usually $35).
- Set Goals: Aim for a specific number of uploads or earnings to stay motivated.
Shutterstock provides tools to help you analyze and optimize your portfolio, so take advantage of them.
Conclusion: Start Your Shutterstock Journey Today
Selling photos on Shutterstock is a rewarding way to monetize your photography skills. By creating an account, adhering to guidelines, preparing quality images, and applying smart sales strategies, you can build a profitable portfolio over time. It’s not an overnight success story—consistency, creativity, and a commitment to excellence are essential. So, grab your camera, polish those images with the right Photo Editing Software, and take your first step toward earning money from your passion. The world is waiting to see your work—get started on Shutterstock today!
Discover more from GottaPics
Subscribe to get the latest posts sent to your email.