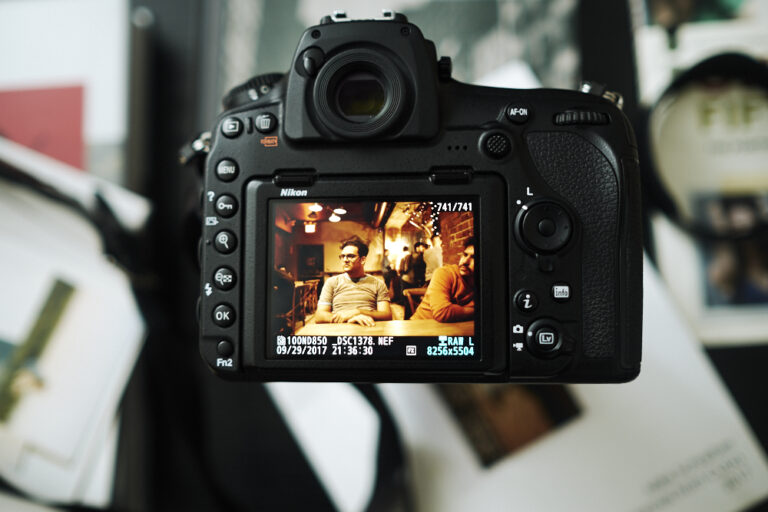

If you’ve finally switched to RAW from JPG, you may be a little confused. The images look incredible on your camera’s screen, but when you load them onto your computer, they seem flat, dull, and lacking contrast. What’s going on? Don’t panic; everything’s okay. In his recent video, Paul from Photo Genius explains why this happens and shares practical tips on editing RAW files to make them truly shine.
Why do RAW images look flat?
The issue lies in how RAW files work. Unlike JPEGs, which are processed by your camera to include adjustments like sharpening, white balance, and contrast, RAW files capture unprocessed data. While this allows for unparalleled flexibility during editing, it also means that RAW images initially lack the enhancements your camera applies to JPEGs.
When you view images on your camera’s LCD screen, you’re likely seeing a JPEG preview of the RAW file, which is why the images appear vibrant. On your computer, the actual, unprocessed RAW file is revealed. From there it’s up to you to bring the image to life through post-processing.
Getting started with RAW editing in Lightroom
In his video, Paul also shares a few helpful tips for editing RAW files in Adobe Ligtroom. It may all sound intimidating at first (I still remember my confusion when I first switched to RAW, and it’s been 15-ish years). But not to worry, here are some basics of the basics to get you started.
Straighten horizons with ease
Crooked horizons can detract from an otherwise beautiful image. Use the Crop tool in Lightroom and hit “Auto” to quickly correct the alignment. You’ll find another useful guide for straightening and fixing perspective here. This has been my go-to way ever since I learned it.
Start with Auto adjustments
If you’re new to editing, the “Auto” button in Lightroom’s Develop module is a good starting point. It makes quick, intelligent edits, which you can fine-tune to match your vision. Or, you can analyze them to see what edits have been made, so you can apply the knowledge in future.
Tweak exposure and highlights
Adjust the Exposure slider to brighten your image and bring out hidden details. To avoid overexposing bright areas, use the Highlights slider to recover details in the lightest parts of the photo.
Recover shadow details
Use the Shadows slider to bring out darker areas without introducing too much noise. This ensures your image has a balanced dynamic range.
Boost contrast and mood with Dehaze
The Dehaze slider can add depth and drama, especially to the skies. But use it sparingly — too much dehaze can darken your image, and overdoing it makes it look unnatural.
Fine-tune colors with HSL
Enhance specific colors using the Hue, Saturation, and Luminance (HSL) panel. Boosting the saturation of oranges and reds, for example, can make sunset shots pop while keeping other tones subtle. You can adjust the HSL for each color individually using sliders, it’s very intuitive, yet it gives you a lot of control over your edits.
Exporting RAW images for sharing
RAW files aren’t ideal for sharing directly—they’re large and often incompatible with social platforms. So, once you’re happy with your edits, Paul shows you how to export your photos as JPEGs in Lightroom:
- Set the file format: Choose JPEG in the export settings for a widely supported and compressed format.
- Optimize for your audience: For social media, resizing to 1080 pixels on the longest edge ensures fast uploads without sacrificing quality.
- Create export presets: Save time by creating presets for common export tasks, like Instagram posts or print-ready files.
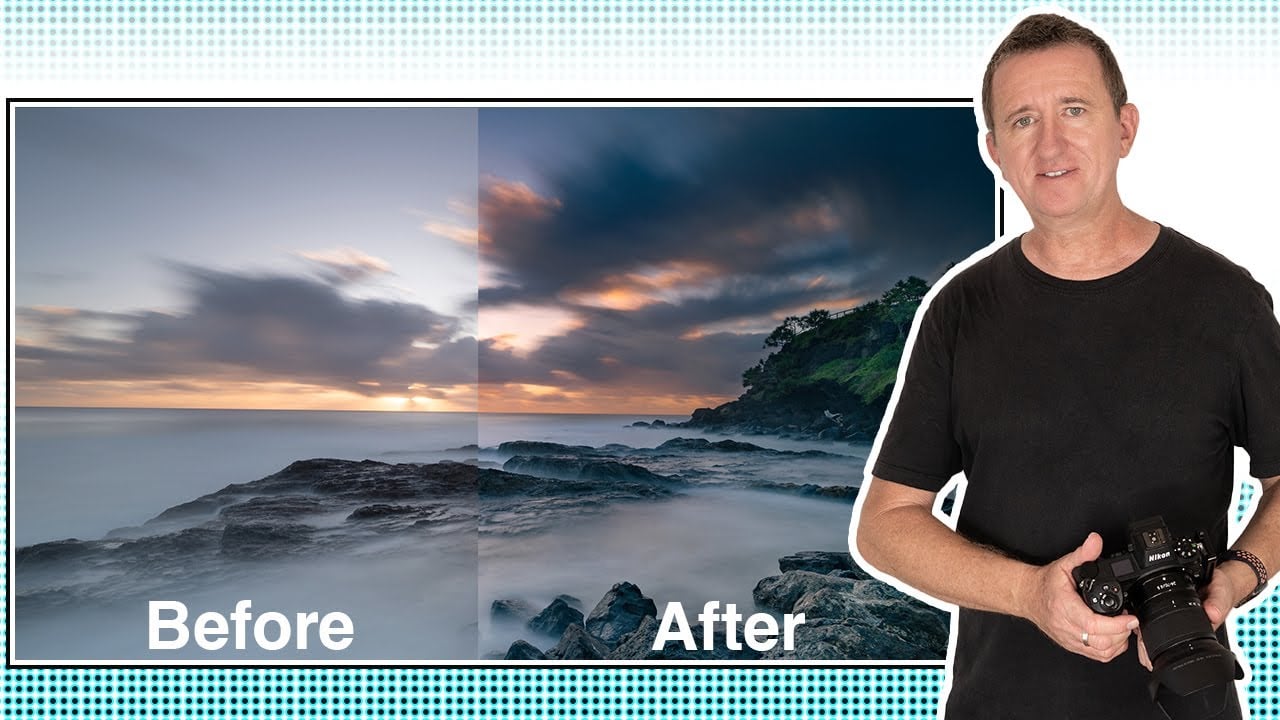
RAW images might not look impressive straight out of the camera, but with a bit of editing, they can surpass even the best in-camera JPEGs. I know editing RAW might seem like extra work, but the control it provides is absolutely worth it! Our blog has plenty of editing tips for Lightroom, Photoshop, and Adobe Camera Raw, and I hope you enjoy learning, experimenting, and improving your photos along the way.
[Why RAW images look so flat compared to Jpeg images straight out of camera PLUS Lightroom tips. | Photo Genius]